How to Tackle a Leaky Faucet: Step-by-Step Instructions
However, fixing a leaky faucet is a common household repair that can be relatively simple to tackle on your own with the right tools and a little bit of know-how. In this guide, we will walk you through the process of fixing a leaky faucet step by step.
Gather Your Supplies
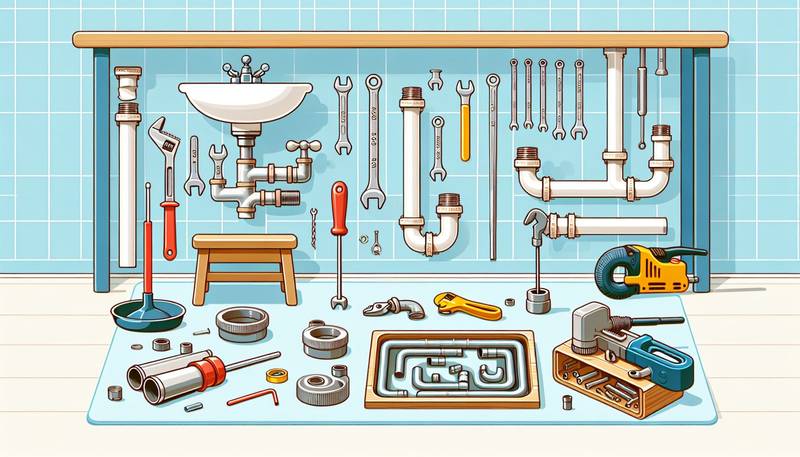
Before you begin fixing the leaky faucet, it's important to gather all the necessary supplies. You will need a set of adjustable wrenches, a screwdriver, replacement washers or O-rings, plumber's grease, plumber's tape, a cloth or towel, and a bucket. Make sure to turn off the water supply to the faucet before you start the repair, and have all your supplies within reach.
Disassemble the Faucet
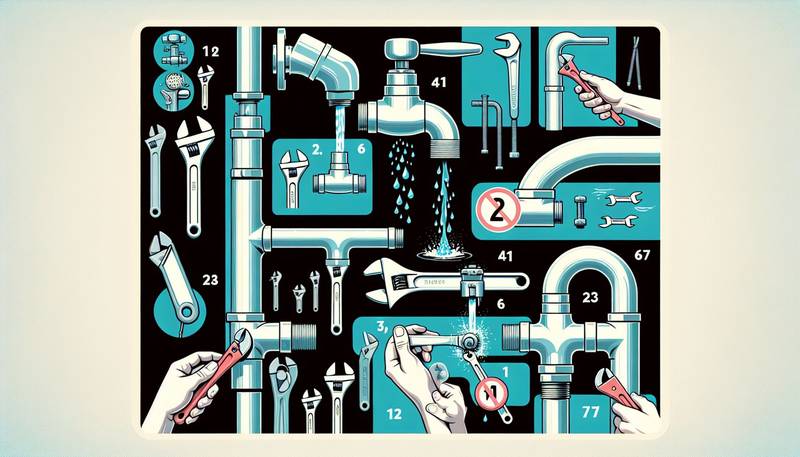
Start by shutting off the water supply to the faucet. You can usually do this by turning the shut-off valves located under the sink. Once the water is turned off, open the faucet to drain out any remaining water in the pipes. Use a screwdriver to remove the faucet handle, then use an adjustable wrench to loosen and remove the packing nut that holds the faucet assembly together. Place a cloth or towel under the sink to catch any water that may drip out during the process.
Inspect and Replace Washers or O-Rings
Once you have disassembled the faucet, inspect the washers and O-rings for any signs of wear or damage. These small rubber pieces are often the cause of a leaky faucet. If you notice any cracks, tears, or deterioration, it's time to replace them with new ones. Make sure to bring the old washers or O-rings to the hardware store to find the exact match for your faucet. Clean the inside of the faucet with a cloth to remove any debris or mineral buildup.
Apply Plumber's Grease and Reassemble
Before reassembling the faucet, apply a thin layer of plumber's grease to the new washers or O-rings. This will help create a watertight seal and prevent future leaks. Reassemble the faucet by following the reverse order of disassembly. Place the new washers or O-rings in their respective positions and secure them with the packing nut. Tighten the packing nut securely with an adjustable wrench, but be careful not to overtighten to avoid damaging the components. Reattach the faucet handle and make sure it is properly aligned.
Turn on the Water Supply
Once you have reassembled the faucet, turn on the water supply to the faucet by opening the shut-off valves under the sink. Slowly turn on the faucet to check for any leaks. If there are no leaks, you have successfully fixed the leaky faucet. If you still notice leaks, you may need to double-check the tightness of the packing nut or replace other components of the faucet. Refer to your faucet's user manual or seek professional help if needed.
Conclusion
Fixing a leaky faucet can be a rewarding DIY project that saves you money and conserves water. By following these detailed step-by-step instructions and being patient throughout the process, you can successfully repair a leaky faucet in your home. Remember to turn off the water supply before beginning the repair, gather all necessary supplies, and take your time to inspect, clean, and replace the necessary components. A properly functioning faucet will not only prevent annoying drips but also contribute to a more sustainable and efficient household plumbing system.


