How to Install a Shower Like a Pro
In this article, we will guide you through the steps of how to install a shower with precision and efficiency.
Planning and Preparation
Before you begin the installation process, it is crucial to have a clear plan in place. Start by determining the location of your new shower and ensuring that you have enough space to accommodate it. Measure the area to determine the dimensions of the shower enclosure and consider factors such as plumbing and drainage requirements.
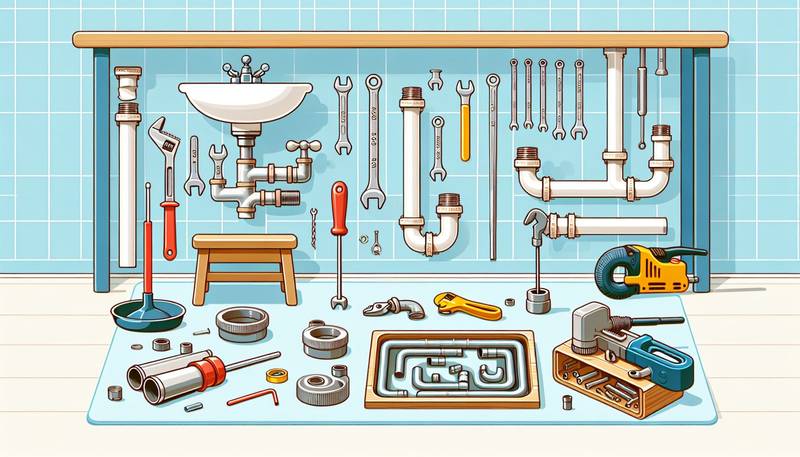
Next, gather all the necessary tools and materials for the job. Some essential items you will need include a drill, screwdriver, level, tape measure, shower pan, waterproofing membrane, tiles, grout, and silicone caulk. Make sure to read the manufacturer's instructions carefully to ensure that you have everything you need before you start.
Removing the Old Shower
If you are replacing an existing shower, you will first need to remove the old one. Start by shutting off the water supply to the bathroom and disconnecting any plumbing connections. Remove the old shower enclosure, including the walls, shower pan, and doors. Check for any signs of mold or water damage, and address these issues before proceeding with the installation.
Installing the Shower Pan
Once the old shower has been removed, it is time to install the new shower pan. Begin by ensuring that the subfloor is clean, level, and free of any debris. Place the shower pan in the desired location and mark the drain hole. Remove the shower pan and apply a layer of mortar to the subfloor to create a stable base for the pan. Carefully set the shower pan in place and connect the drain according to the manufacturer's instructions.
Waterproofing
Proper waterproofing is essential to prevent water damage and ensure the longevity of your shower installation. Apply a waterproofing membrane to the walls and floor of the shower enclosure, making sure to seal all seams and corners thoroughly. Allow the membrane to dry completely before proceeding to the next step.
Tiling the Shower
Tiling the shower is both a functional and aesthetic aspect of the installation process. Start by dry-fitting the tiles on the walls and floor to determine the layout and make any necessary cuts. Mix the tile adhesive according to the manufacturer's instructions and begin applying the tiles, starting from the bottom and working your way up. Use tile spacers to ensure even spacing between tiles, and allow the adhesive to set before grouting.
Grouting and Sealing
Once the tiles are in place, it is time to grout the joints. Mix the grout to a smooth consistency and apply it to the joints using a grout float, making sure to fill all gaps completely. Wipe away any excess grout with a damp sponge and allow it to dry. Once the grout is dry, apply a silicone caulk to the corners and edges of the shower to seal and protect the tiles.
Final Touches
After the grout and caulk have dried, reattach any fixtures and fittings, such as the showerhead, handles, and doors. Turn on the water supply and check for any leaks or issues. Once you have confirmed that everything is in working order, give your new shower a test run to ensure that it is functioning properly.
Conclusion
Installing a shower may seem like a complex task, but with the right guidance and preparation, you can tackle this project with confidence. By following the steps outlined in this article, you can install a shower like a pro and enjoy a beautiful and functional bathing space in your home. Remember to take your time, double-check your work, and seek professional help if needed to ensure a successful and long-lasting shower installation.
